Introduction: Why iPhone Backups are More Important Than Ever
As Apple gears up to roll out iOS 18.2, the upcoming software update is expected to bring exciting new features, improvements, and security enhancements. However, with any significant update, there’s always the risk of data loss or complications during the upgrade process. To ensure a smooth transition to iOS 18.2 and safeguard your valuable data, it’s crucial to have a reliable backup strategy in place.
In this guide, we will explore the best practices for backing up your iPhone, the tools available, and key considerations that will help you protect your data as you upgrade to iOS 18.2.
Why Backing Up Your iPhone Matters
Whether you’re upgrading to iOS 18.2 or facing any potential hardware issues, backing up your iPhone ensures that your personal data—such as photos, messages, contacts, and app data—is safe. Backups are your safety net, offering peace of mind that you won’t lose important information if something goes wrong during the upgrade process.
Additionally, with regular iPhone backups, you can easily recover your settings and data if you need to reset your device, replace your phone, or restore it from a backup after a system crash.
Backup Methods for iPhone Users: iCloud vs. iTunes/Finder
Apple offers two primary methods for backing up your iPhone: iCloud and iTunes (on Windows) or Finder (on macOS). Both methods have their pros and cons, so let’s explore the differences to help you decide which method best suits your needs.
iCloud Backup: Convenience and Accessibility
iCloud is Apple’s cloud-based backup solution, and it offers several advantages:
- Automatic backups: Once enabled, iCloud automatically backs up your data whenever your device is connected to Wi-Fi and plugged into power. This ensures your data is regularly updated without requiring manual intervention.
- Remote access: With iCloud, your backup is stored in the cloud, making it accessible from any device with your Apple ID, giving you the flexibility to recover data from anywhere.
- Storage limitations: The free iCloud plan provides only 5GB of storage, which may not be enough for users with large amounts of data. However, you can purchase additional storage if needed.
For users who prioritize ease of use and convenience, iCloud is the go-to solution. However, due to its reliance on cloud storage, it’s essential to ensure that you have sufficient space in your iCloud account to store your backup data. You can check your available storage under Settings > [Your Name] > iCloud > Manage Storage.
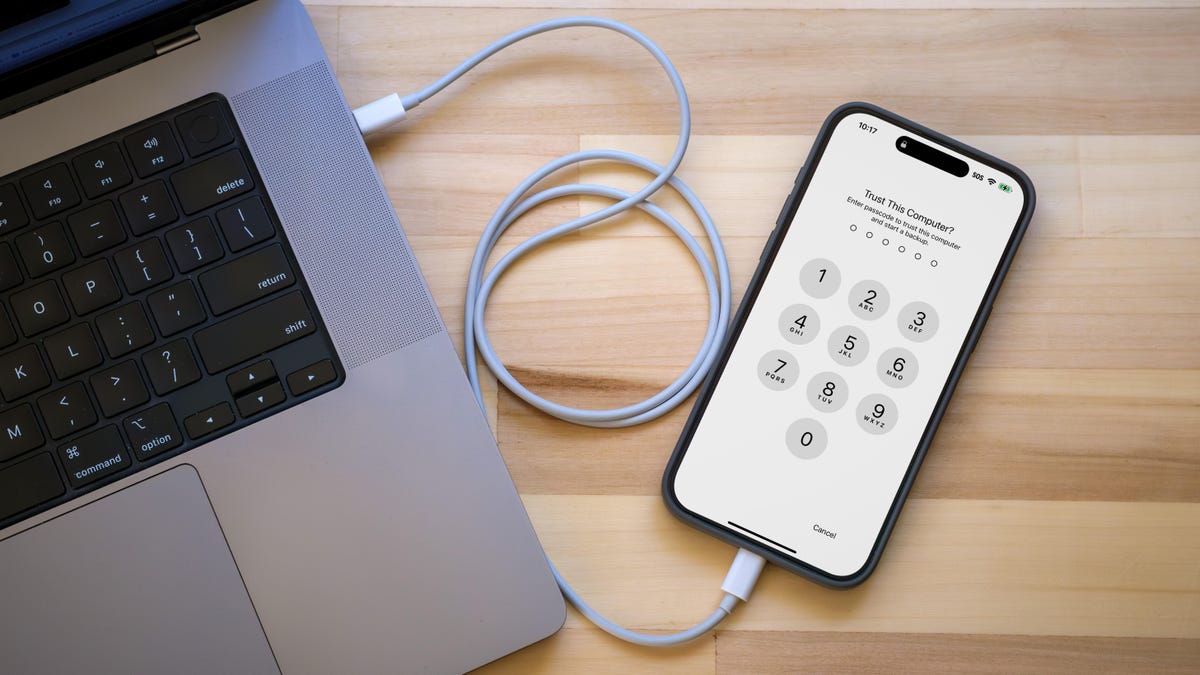
iTunes/Finder Backup: Complete Control and Local Storage
For those who prefer having their backup data stored locally on their computer, iTunes (for Windows) or Finder (for macOS) provides an alternative. The benefits of using iTunes/Finder include:
- Full backups: Local backups are complete copies of your iPhone’s data, including apps, settings, and even some system files, which can be restored to the exact state they were in before.
- No storage limitations: Unlike iCloud, which has limited free storage, you can back up as much data as your computer’s hard drive can handle.
- Faster restores: Restoring a backup from a computer is often faster than restoring from iCloud, especially if you have a large amount of data.
The main downside of iTunes/Finder backups is that they require a physical connection to your computer, which may not be as convenient as the cloud-based iCloud solution. Additionally, keeping a local backup means that your data is vulnerable if your computer is damaged or stolen.
Backup Best Practices for iOS 18.2
Now that we’ve reviewed the two primary backup methods, let’s discuss some key best practices to ensure your backup is both effective and secure:
1. Backup Regularly
Set a reminder to back up your iPhone regularly. Even if you’re not upgrading to iOS 18.2, regular backups can protect you from unexpected issues such as data loss or device failure. You can schedule automatic iCloud backups, but for local backups via iTunes or Finder, make it a habit to connect your iPhone to your computer periodically.
2. Enable End-to-End Encryption
If you’re using iTunes/Finder to back up your iPhone, be sure to enable end-to-end encryption to protect sensitive data, such as passwords, health data, and app data. This encryption ensures that your backup is secure even if your computer is compromised. To enable this, simply check the box marked “Encrypt iPhone backup” when connecting your iPhone to iTunes or Finder.
3. Verify Your Backup
After performing a backup, it’s important to verify that it was successful. In iCloud, you can go to Settings > [Your Name] > iCloud > iCloud Backup and check the date of the last successful backup. In iTunes/Finder, you can review your backups by navigating to Preferences > Devices and checking the list of available backups.
4. Use Multiple Backup Methods
For maximum security, consider using both iCloud and iTunes/Finder backups. Having multiple backups increases your chances of successfully recovering your data if something goes wrong with one of the methods.
5. Consider Third-Party Backup Solutions
If you require additional backup options, several third-party services offer backup solutions that can complement Apple’s native tools. Some of these services even provide cloud storage specifically designed for iPhone users, with features like larger storage limits and advanced file recovery options.
Common Backup Issues and How to Troubleshoot
Even with the best backup practices in place, issues can arise. Here are some common backup problems and troubleshooting tips:
1. iCloud Backup Fails
If your iCloud backup isn’t working, try these steps:
- Ensure that your device is connected to Wi-Fi and has sufficient battery life.
- Check your available iCloud storage and free up space if necessary.
- Sign out of your iCloud account and sign back in under Settings > [Your Name] > Sign Out.
2. iTunes/Finder Backup Stuck
If your backup process is stuck or not progressing, restart both your iPhone and computer. Ensure that you’re using the latest version of iTunes or macOS, and check that your USB cable and connection are intact.
Conclusion: Ready for iOS 18.2
Backing up your iPhone before upgrading to iOS 18.2 is a critical step to avoid the risk of data loss. By understanding the differences between iCloud and iTunes/Finder backups, following best practices, and troubleshooting common issues, you can ensure a smooth upgrade experience while keeping your data safe.
Ultimately, being proactive about backups can save you time, prevent frustration, and provide peace of mind during any major iOS update. As iOS 18.2 brings new features and functionality, a solid backup strategy will ensure you’re prepared for whatever the upgrade may bring.
For further details on iOS backup and upgrade strategies, visit Apple’s official [support page](https://support.apple.com/en-us/HT203977) for the latest information.
See more Future Tech Daily